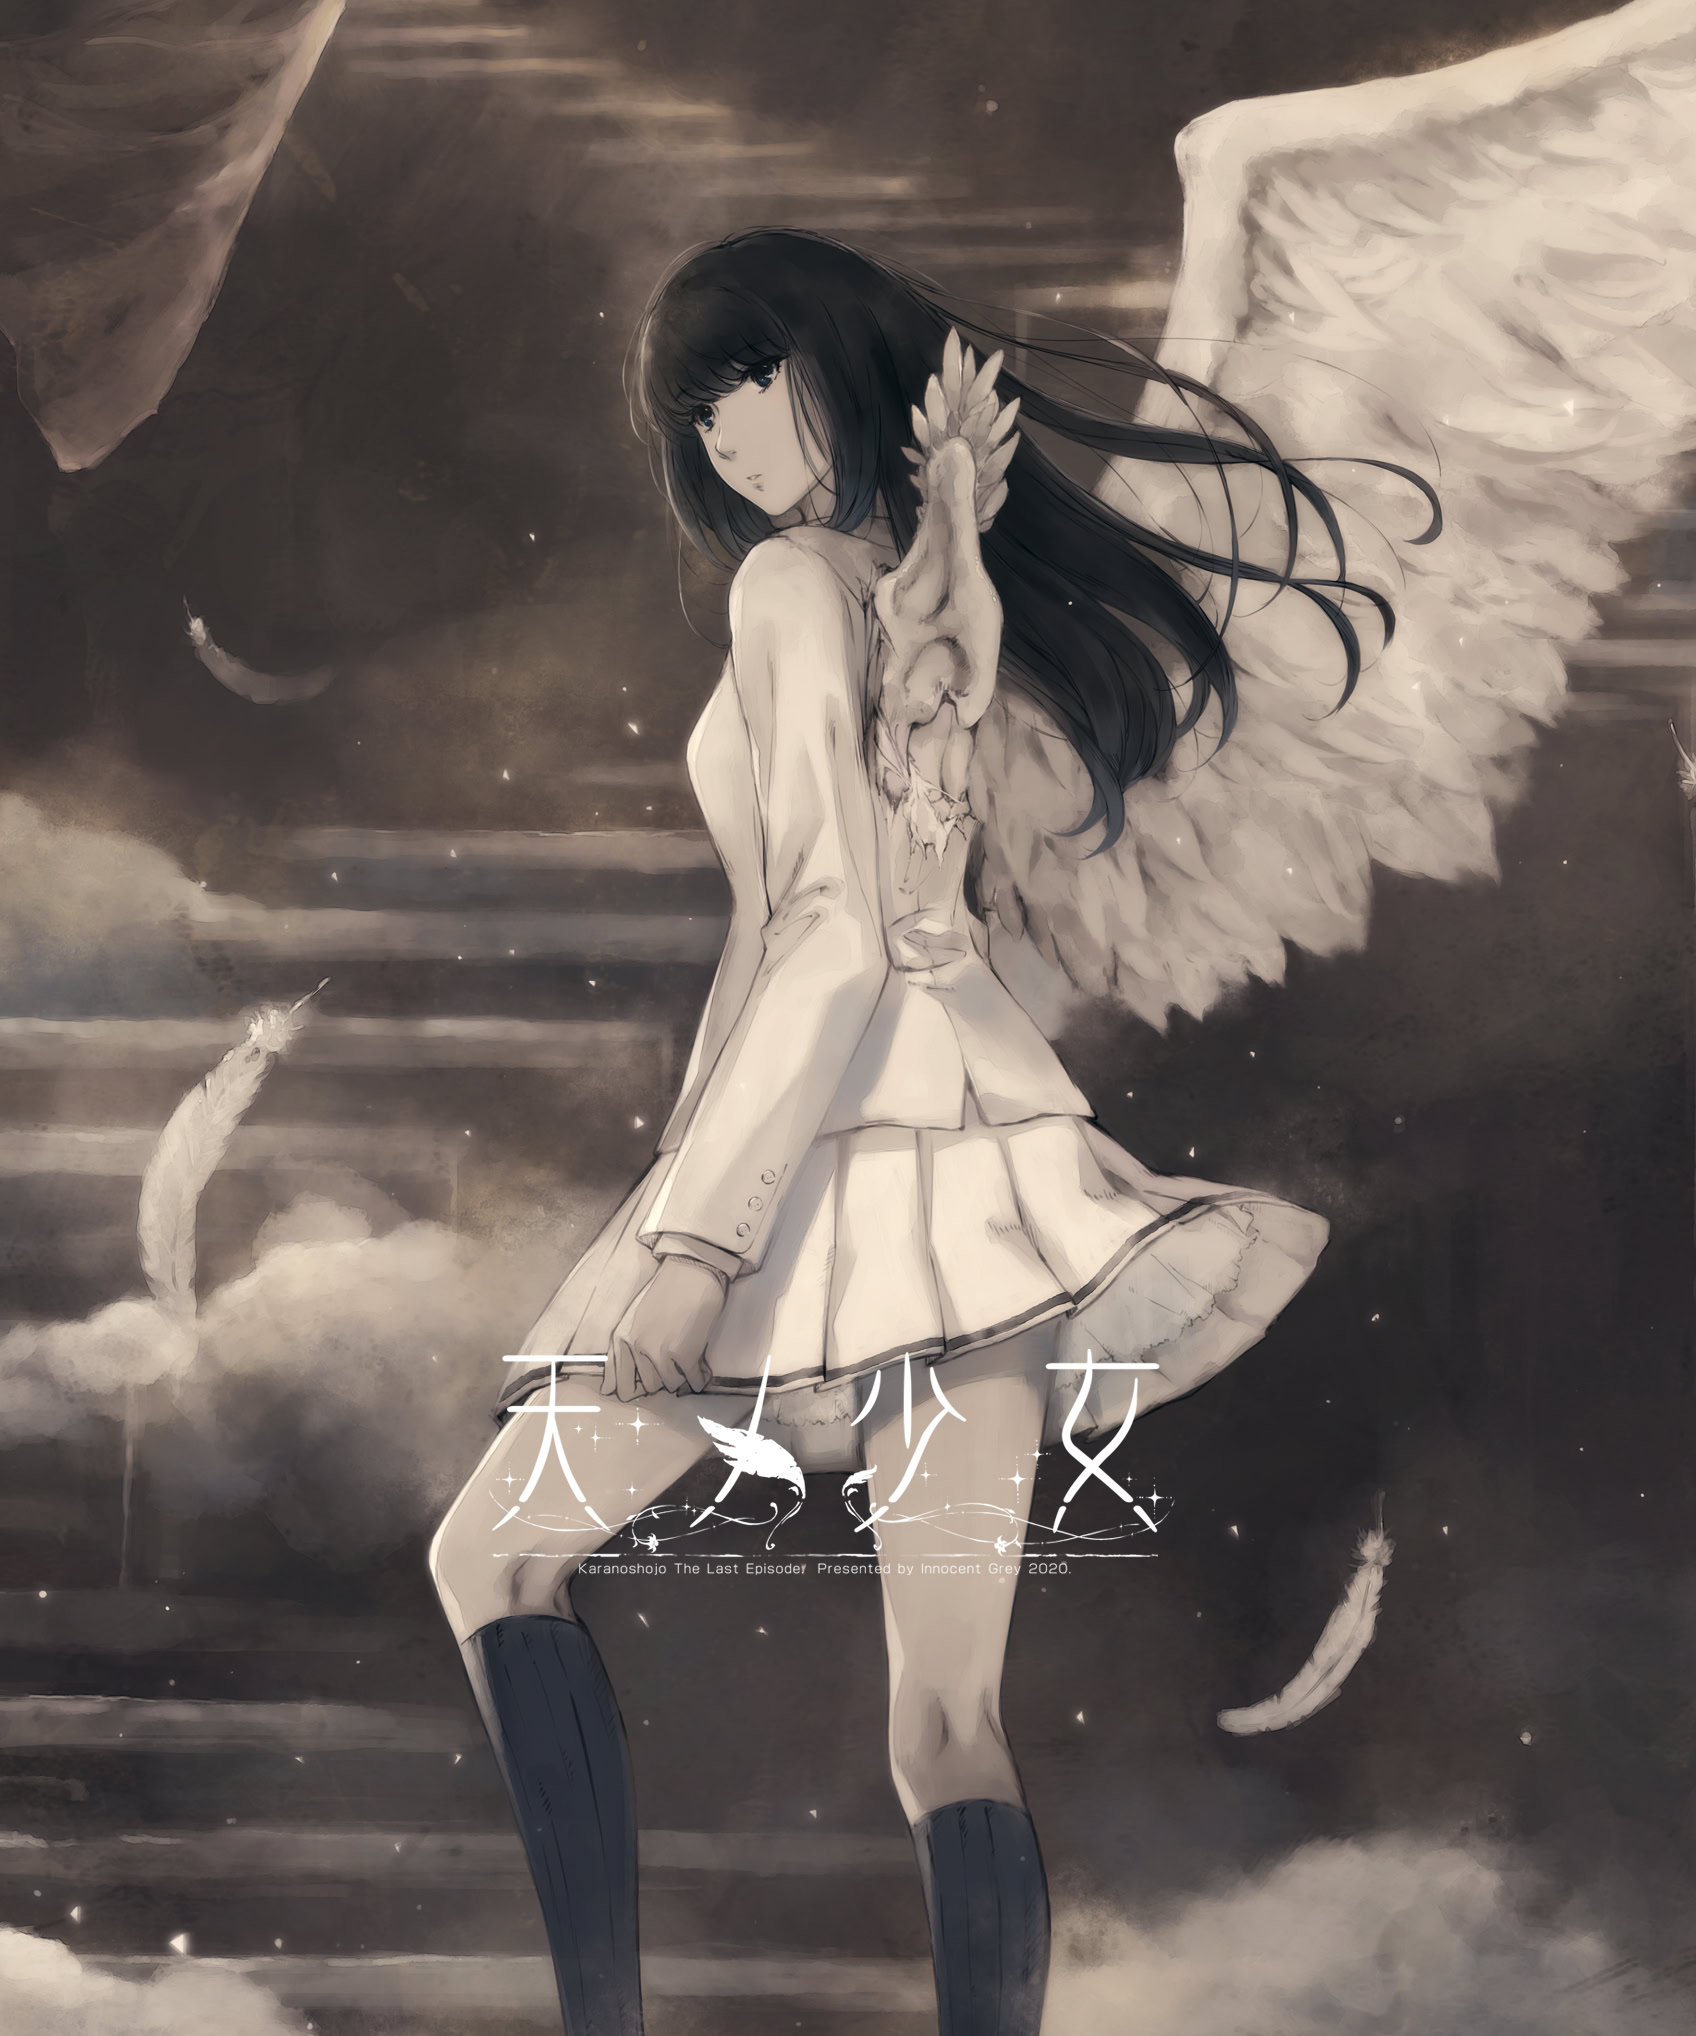
This walkthrough is for the The Shell Part III: Paradiso visual novel by Innocent Grey and Lemnisca LLC & Shiravune, available for English download on MangaGamer, Denpasoft, JASTUSA, Shiravune and Steam. The Japanese name of this game is Kara no Shoujo – The Last Episode.
The Shell Part III: Paradiso is a murder mystery Visual Novel with gore and adult themes.
The Gallery is unlocked after the 1st pass of the main route (and several bad endings). It contains a CG gallery, a Music gallery, a Movie gallery, and a list of all the endings you can unlock.
You’ll need 12 save slots for The Shell Part III: Paradiso.
This walkthrough is based on the one found on Seiya Saiga.
NOTES
- This title has a prequel scenario added to the beginning of the 1st lap so this walkthrough will reflect that. The Japanese version has the prequel added to the 2nd lap
- This walkthrough is a work in progress, more routes will be added soon
First Lap
The Missing Clue Bad End
- Start
- Feb 11th | Map | Shinjuku Station
- Feb 16th | Cadaver’s body
- Cadaver’s head
- Cadaver’s arm
- Cadaver’s feet
- Cadaver’s wing
- Pool of blood
- Blood splatter on the left of the Pool of blood
- Painting tools
- Shelf on right wall
- End investigation
- Feb 20th | Map | Kichijoji Station
- Feb 21st | Cadaver’s body
- Cadaver’s head
- Cadaver’s arm
- Cadaver’s feet
- Cadaver’s wing
- Sky around the cadaver
- Snow on the ground
- End Investigation
- Map | Kichijoji Station
- Feb 22nd | Map | Kichijoji Station
- Feb 23rd | Map | Kichijoji Station
- Feb 24th | We need to look into it.
- Map | Shinjuku Station
- Feb 25th | A grudge against Girl in Shell.
- The thief was a collector of Mamiyas.
- Both were done by the same person.
- It’s irrelevant.
- Feb 26th | Cadaver’s body
- Cadaver’s head
- Cadaver’s arm
- Cadaver’s feet
- Cadaver’s wing
- Grasses around cadaver
- Bottom left area
- End Investigation
- Sei Maezono was attacked in her apartment.
- 024 Keita Sasakura ⇒ Confirm
- Sei Maezono committed suicide.
- Feb 27th | Map | Kichijoji Station
- Feb 28th | Assume it was a suicide.
- Yes, she killed herself in her apartment.
- Feb 28th | Map | Kichijoji Station
- March 1 | Cadaver’s head
- Cadaver’s body
- Cadaver’s arm
- Cadaver’s feet
- Cadaver’s back
- Pool of blood
- Bottom right knife
- End Investigation
- A woman.
- The murder was relevant to the painting.
- No.
- It does.
- 024 Keita Sasakura ⇒ Confirm
- Yeah.
- Because Sei Maezono is actually alive.
- Save slot 1
- Shinjuku.
Sei’s Crime End
- Load slot 1
- Chofu.
- Sei tried to kill herself.
- March 2nd | Save slot 2
- Sei made the forgeries.
Become As One End
- Load slot 2
- The paintings in the gallery were the originals.
- She didn’t.
- There is.
- 027 Chie Kuboi ⇒ Confirm
- 020 Magazine (it’s possible that the number for this item varies depending on when you discovered it. Just make sure it’s the Magazine you choose) ⇒ Confirm
- March 4th | 028 Chie’s Painting (once again the number of this can vary) ⇒ Confirm
- March 12th | Map | Kuchiki Hospital
- 007 Girl in Shell Statue ⇒ Confirm
- March 15th | Sofa
- Wine bottle on table
- Fallen house plant
- Wooden box on the floor
- Telephone on the bookshelf
- Sake on the bookshelf
- On the larger bookshelf, 2nd shelf on the top row
- Potted house plant
- Photo on the shelf
- Books next to the photo
- End Investigation
- Save slot 3
- No.
Yaginuma’s Death End
- Load slot 3
- Yes.
- 043 Kidnapping : Testimony (again ignore the number and go for the name of the document) ⇒ Confirm
- 050 Kidnapping: Documents ⇒ Confirm
- Yeah.
- 030 Fumiya Kuchiki ⇒ Confirm
- Examination Table
- White square package leaning on wall
- Outside the window
- Medicine Cabinet
- Top desk drawer
- Surgical tools on desk
- Paper on Desk
- No, not necessary
- End Investigation
- Save slot 4
- It’s not.
Misguided Retaliation Ending
- Load slot 4
- It is.
- 054 Fumiya’s Testimony ⇒ Confirm
- 010 Ryoichi Yaminuma ⇒ Confirm
- Yaginuma.
- “…thinking up a plan to escape, are you?”
- 050 Yaginuma’s Home: Newspaper ⇒ Confirm
- The books on the bookcase.
- Feb 15th | Cadaver’s body
- Cadaver’s head
- Cadaver’s neck
- Cadaver’s arm
- Cadaver’s feet
- Cadaver’s wing
- Ground around the body
- End Investigation
- Feb 17th | Curtain
- Tatami floor
- Wall
- Closet on the left
- Ceiling
- End Investigation
- It doesn’t
- Toko.
- Feb | 21 Sei was the real artist behind Exile of Paradise.
- Sei used Sora’s body to fake her own death.
- Feb | 22nd Cadaver’s body
- Cadaver’s head
- Cadaver’s arm
- Cadaver’s hand
- Blanket under the cadaver
- Hole next to the body
- End Investigation
- 068 Bug Leg ⇒ Confirm
- 075 Pit Body: Fingernails dirt ⇒ Confirm
- No.
- Her face.
- Feb 23rd | Go in.
- Feb 24th | No.
- Save slot 5
- It wasn’t.
- Save slot 6
- 080 Body in Pit ⇒ Confirm
- 038 Yuusaku Tamura ⇒ Confirm
Unsolved Case
- Load slot 6
- 008 Exile of Paradise (anything is fine though, you want to make mistakes for the few next choices)
- 008 Exile of Paradise
- 008 Exile of Paradise
- 008 Exile of Paradise
Unjust Treatment Ending
- Load slot 5
- It was.
- 035 Akiyuki Naruko ⇒ Confirm
- 077 Eyewitness Testimony
- Save slot 7
- That adds up.
Lost Truth End
- Load slot 7
- That doesn’t add up.
- Yes.
- 079 Road Work ⇒ Confirm
- Torn away tatami mat
- Unconscious woman
- Fallen bread
- Hole under the floor
- Book on the desk
- Shoji screen
- End Investigation
- Yes.
- They wanted to rob her.
- An acquaintance of hers.
- 078 Bomb Shelters ⇒ Confirm
- Save slot 8
- He thought something was in there, but was wrong.
Cold Case End
- Load slot 8
- He thought something was in there, and was right.
- 068 Bug Leg ⇒ Confirm
- 084 Naruko Home: Fresh Bread ⇒ Confirm
- To feed the girls they were keeping prisoner.
- Map | Barn
Second Lap
Fumiya’s Obsession End
- Start
- Feb 11th | Map | Shinjuku Station
- Feb 16th | Cadaver’s body
- Cadaver’s head
- Cadaver’s arm
- Cadaver’s feet
- Cadaver’s wing
- Pool of blood
- Blood splatter on the left of the Pool of blood
- Painting tools
- Shelf on right wall
- End investigation
- Feb 20th | Map | Kichijoji Station
- Feb 21st | Cadaver’s body
- Cadaver’s head
- Cadaver’s arm
- Cadaver’s feet
- Cadaver’s wing
- Sky around the cadaver
- Snow on the ground
- End Investigation
- Map | Kuchiki Hospital
- Feb 22nd | Shinjuku Station
- Feb 23rd | Shinjuku Station
- Feb 24th | We need to look into it.
- Map | Kuchiki Hospital
- Feb 25th | A grudge against Girl in Shell.
- The thief was a collector of Mamiyas.
- Both were done by the same person.
- It’s irrelevant.
- Feb 26th | Cadaver’s body
- Cadaver’s head
- Cadaver’s arm
- Cadaver’s feet
- Cadaver’s wing
- Grasses around cadaver
- Bottom left area
- End Investigation
- Sei Maezono was attacked in her apartment.
- 024 Keita Sasakura ⇒ Confirm
- Sei Maezono committed suicide.
- Feb 27th | Map | Shinjuku Station
- Feb 28th | Assume it was a suicide.
- Yes, she killed herself in her apartment.
- Feb 28th | Map | Shinjuku Station
- March 1 | Cadaver’s head
- Cadaver’s body
- Cadaver’s arm
- Cadaver’s feet
- Cadaver’s back
- Pool of blood
- Bottom right knife
- End Investigation
- A woman.
- The murder was relevant to the painting.
- No.
- It does.
- 024 Keita Sasakura ⇒ Confirm
- Yeah.
- Because Sei Maezono is actually alive.
- Chofu.
- Sei tried to kill herself.
- March 2nd | The paintings in the gallery were the originals.
- She didn’t.
- There is.
- 027 Chie Kuboi ⇒ Confirm
- 027 Magazine ⇒ Confirm
- We should go too.
- 042 | Sasakura’s Body: Knife ⇒ Confirm
- March 4th | 035 Chie’s Painting ⇒ Confirm
- March 12th | Map | Tokyo Metropolitan Art Museum
- 007 Girl in Shell Statue ⇒ Confirm
- March 15th | Sofa
- Wine bottle on table
- Fallen house plant
- Wooden box on the floor
- Telephone on the bookshelf
- Sake on the bookshelf
- On the larger bookshelf, 2nd shelf on the top row
- Potted house plant
- Photo on the shelf
- Books next to the photo
- End Investigation
- Yes.
- 049 Kidnapping : Testimony ⇒ Confirm
- 050 Kidnapping: Documents ⇒ Confirm
- Yeah.
- 030 Fumiya Kuchiki ⇒ Confirm
- Examination Table
- White square package leaning on wall
- Outside the window
- Medicine Cabinet
- Top desk drawer
- Surgical tools on desk
- Paper on Desk
- No, not necessary
- End Investigation
- It is.
- 060 Fumiya’s Testimony ⇒ Confirm
- 010 Ryoichi Yaminuma ⇒ Confirm
- Yaginuma.
- “…thinking up a plan to escape, are you?”
- 056 Yaginuma’s Home: Newspaper ⇒ Confirm
- The books on the bookcase.
- Feb 15th | Cadaver’s body
- Cadaver’s head
- Cadaver’s neck
- Cadaver’s arm
- Cadaver’s feet
- Cadaver’s wing
- Ground around the body
- End Investigation
- Feb 17th | Curtain
- Tatami floor
- Wall
- Closet on the left
- Ceiling
- End Investigation
- I wouldn’t rule that out.
- Toko.
- Feb | 21 Sei was the real artist behind Exile of Paradise.
- Sei used Sora’s body to fake her own death.
- Feb | 22nd Cadaver’s body
- Cadaver’s head
- Cadaver’s arm
- Cadaver’s hand
- Blanket under the cadaver
- Hole next to the body
- End Investigation
- Possibly.
- 077 Bug Leg ⇒ Confirm
- 084 Pit Body: Fingernails dirt ⇒ Confirm
- No.
- Her face.
- Feb 23rd | Go in.
- Feb 24th | No.
- It was.
- 035 Akiyuki Naruko ⇒ Confirm
- 086 Eyewitness Testimony ⇒ Confirm
- That doesn’t add up.
- Yes.
- 088 Road Work ⇒ Confirm
- Torn away tatami mat
- Unconscious woman
- Fallen bread
- Hole under the floor
- Book on the desk
- Shoji screen
- End Investigation
- Yes.
- They wanted to rob her.
- An acquaintance of hers.
- 087 Bomb Shelters ⇒ Confirm
- Save slot 8
- He thought something was in there, and was right.
- 077 Bug Leg ⇒ Confirm
- 093 Naruko Home: Fresh Bread ⇒ Confirm
- To feed the girls they were keeping prisoner.
- Map | Barn
- He kept his own daughter locked up down there.
- Manami Naruko.
- Haruka Tamura.
- 082 | Pit Body: Shoe Mark ⇒ Confirm
- Feb 24th | Iroha Saegusa
- Give me some time to think it over.
- Feb 25th | To attract attention to the murder.
- 066 Angel Body: Neck ⇒ Confirm
- 041 Manami Naruko ⇒ Confirm
- That hadn’t been Manami’s first murder.
- 017 Makoto Rokushiki ⇒ Confirm
- Feb 26th | Save slot 9
- 017 Makoto Rokushiki ⇒ Confirm
Chizuru’s Obsession End
- Load slot 9
- 006 Chizuru Kuchiki ⇒ Confirm
Grand Ending
- Load slot 9
- 030 Fumiya Kuchiki ⇒ Confirm
Respective Heavens End (available only after Grand End)
- Load slot 9
- 030 Fumiya Kuchiki ⇒ Confirm
- Feb 27th | Grin and bear it.
- Save slot 10
- Let him do as he pleases.
True Ending
- Load slot 10
- Stop Masaki.
Third Lap
Vanished Lead
- Start
- Feb 11th | Map | Shinjuku Station
- Feb 16th | Cadaver’s body
- Cadaver’s head
- Cadaver’s arm
- Cadaver’s feet
- Cadaver’s wing
- Pool of blood
- Blood splatter on the left of the Pool of blood
- Painting tools
- Shelf on right wall
- End investigation
- Feb 20th | Map | Kichijoji Station
- Feb 21st | Cadaver’s body
- Cadaver’s head
- Cadaver’s arm
- Cadaver’s feet
- Cadaver’s wing
- Sky around the cadaver
- Snow on the ground
- End Investigation
- Map | Kuchiki Hospital
- Feb 22nd | Map | Shinjuku Station
- Feb 23rd | Map | Shinjuku Station
- Feb 24th | We need to look into it.
- Map | Kuchiki Hospital
- Feb 25th | A grudge against Girl in Shell.
- The thief was a collector of Mamiyas.
- Both were done by the same person.
- It’s irrelevant.
- Feb 26th | Cadaver’s body
- Cadaver’s head
- Cadaver’s arm
- Cadaver’s feet
- Cadaver’s wing
- Grasses around cadaver
- Bottom left area
- End Investigation
- Sei Maezono was attacked in her apartment.
- 024 Keita Sasakura ⇒ Confirm
- Sei Maezono committed suicide.
- Feb 27th | Map | Shinjuku Station
- Feb 28th | Assume it was a suicide.
- Yes, she killed herself in her apartment.
- Feb 28th | Map | Shinjuku Station
- March 1 | Cadaver’s head
- Cadaver’s body
- Cadaver’s arm
- Cadaver’s feet
- Cadaver’s back
- Pool of blood
- Bottom right knife
- End Investigation
- A woman.
- The murder was relevant to the painting.
- No.
- It does.
- 024 Keita Sasakura ⇒ Confirm
- Yeah.
- Because Sei Maezono is actually alive.
- Chofu.
- Sei tried to kill herself.
- March 2nd | The paintings in the gallery were the originals.
- She didn’t.
- There is.
- 027 Chie Kuboi ⇒ Confirm
- 027 Magazine ⇒ Confirm
- Let the police handle it.
- March 4th | 035 Chie’s Painting ⇒ Confirm
- March 12th | Map | Tokyo Metropolitan Art Museum
- 007 Girl in Shell Statue ⇒ Confirm
- March 15th | Sofa
- Wine bottle on table
- Fallen house plant
- Wooden box on the floor
- Telephone on the bookshelf
- Sake on the bookshelf
- On the larger bookshelf, 2nd shelf on the top row
- Potted house plant
- Photo on the shelf
- Books next to the photo
- End Investigation
- Yes.
- 049 Kidnapping: Testimony ⇒ Confirm
- 050 Kidnapping: Documents ⇒ Confirm
- Yeah.
- 030 Fumiya Kuchiki ⇒ Confirm
- Examination Table
- White square package leaning on wall
- Outside the window
- Medicine Cabinet
- Top desk drawer
- Surgical tools on desk
- Paper on Desk
- No, not necessary
- End Investigation
- It is.
- 060 Fumiya’s Testimony ⇒ Confirm
- 010 Ryoichi Yaginuma ⇒ Confirm
- Yaginuma
- “…thinking up a plan to escape, are you?”
- 056 Yaginuma’s Home: Newspaper ⇒ Confirm
- The books on the bookcase.
- Feb 15th | Cadaver’s body
- Cadaver’s head
- Cadaver’s neck
- Cadaver’s arm
- Cadaver’s feet
- Cadaver’s wing
- Ground around the body
- End Investigation
- Feb 17th | Curtain
- Tatami floor
- Wall
- Closet on the left
- Ceiling
- End Investigation
- I wouldn’t rule that out.
- Toko.
- Feb | 21 Sei was the real artist behind Exile of Paradise.
- Sei used Sora’s body to fake her own death.
- Feb | 22nd Cadaver’s body
- Cadaver’s head
- Cadaver’s arm
- Cadaver’s hand
- Blanket under the cadaver
- Hole next to the body
- End Investigation
- Possibly
- 077 Bug Leg ⇒ Confirm
- 084 Pit Body: Fingernails dirt ⇒ Confirm
- No.
- Her face.
- Feb 23rd | Go in.
- Feb 24th | No.
- It was.
- 035 Akiyuki Naruko ⇒ Confirm
- 086 Eyewitness Testimony ⇒ Confirm
- That doesn’t add up.
- Yes.
- 088 Road Work ⇒ Confirm
- Torn away tatami mat
- Unconscious woman
- Fallen bread
- Hole under the floor
- Book on the desk
- Shoji screen
- End Investigation
- Yes.
- They wanted to rob her.
- An acquaintance of hers.
- 087 Bomb Shelters ⇒ Confirm
- He thought something was in there, and was right.
- 077 Bug Leg ⇒ Confirm
- 093 Naruko Home: Fresh Bread ⇒ Confirm
- To feed the girls they were keeping prisoner.
- Map | Barn
- He kept his own daughter locked up down there.
- Manami Naruko.
- Haruka Tamura.
- Save slot 11
- 008 Exile of Paradise (anything is fine though, you want to make mistakes for the few next choices) ⇒ Confirm
- 008 Exile of Paradise ⇒ Confirm
Each Heaven End
- Load slot 11
- 082 Pit Body: Shoe Mark ⇒ Confirm
- Feb 24th | Iroha Saegusa
- Yes, test my blood.
- Feb 25th | To attract attention to the murder.
- 066 Angel Body: Neck ⇒ Confirm
- 041 Manami Naruko ⇒ Confirm
- That hadn’t been Manami’s first murder.
- 017 Makoto Rokushiki ⇒ Confirm
- Feb 26th | 030 Fumiya Kuchiki ⇒ Confirm
- Feb 27th Grin and bear it.
- Save slot 12
- Let him do as he pleases.
Normal End
- Load slot 12
- Stop Masaki.
Innocent Grey game walkthroughs: Flowers -Le Volume sur Automne- | Flowers -Le volume sur été- | Flowers -Le Volume sur Hiver- | Flowers -Le volume sur printemps- | Kara no Shojo (Shoujo) – The Second Episode | The Shell Part III: Paradiso